Manual Tensile Testing Machine
PLEASE SEE ALL MODELS PDF : Tensile Strength Machine.pdf
Product Description
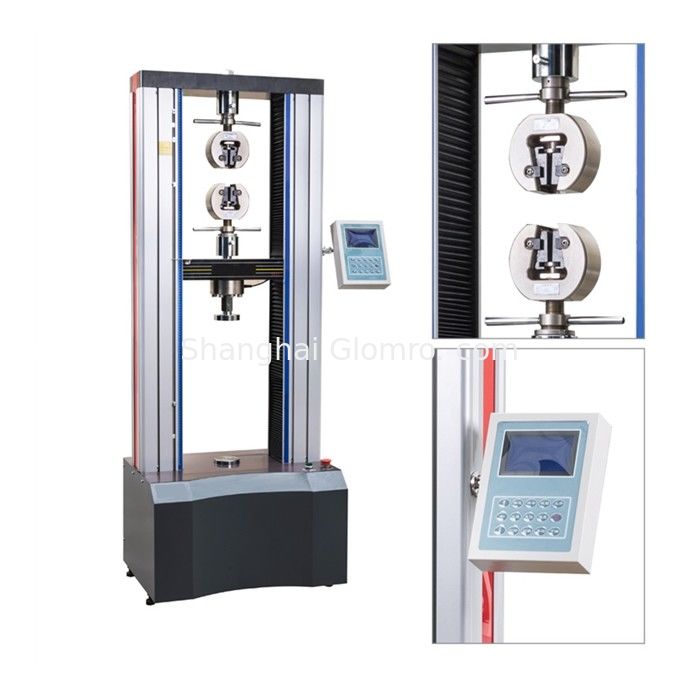
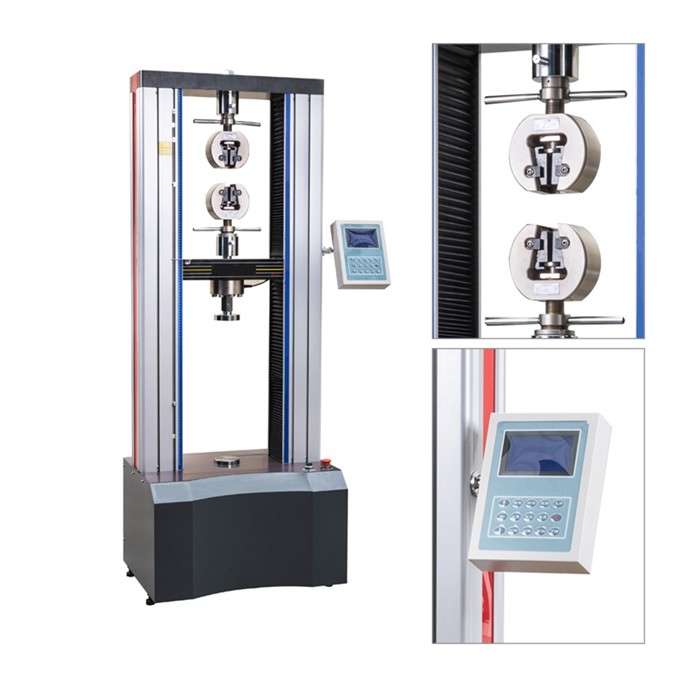
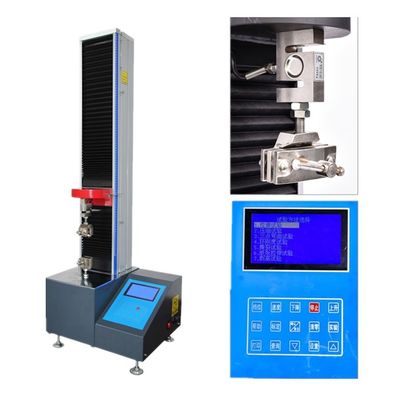
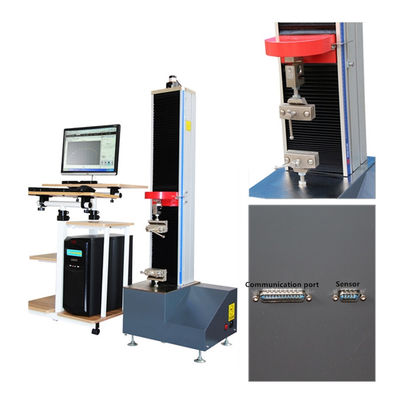
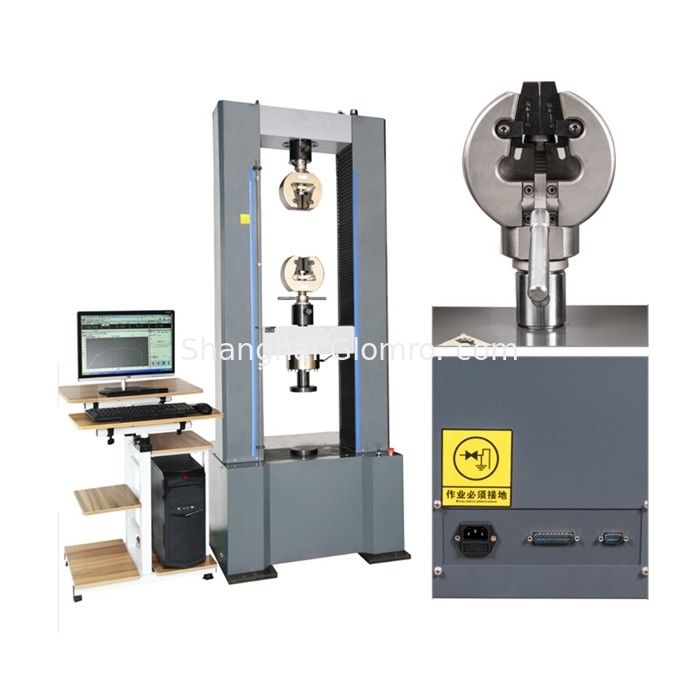
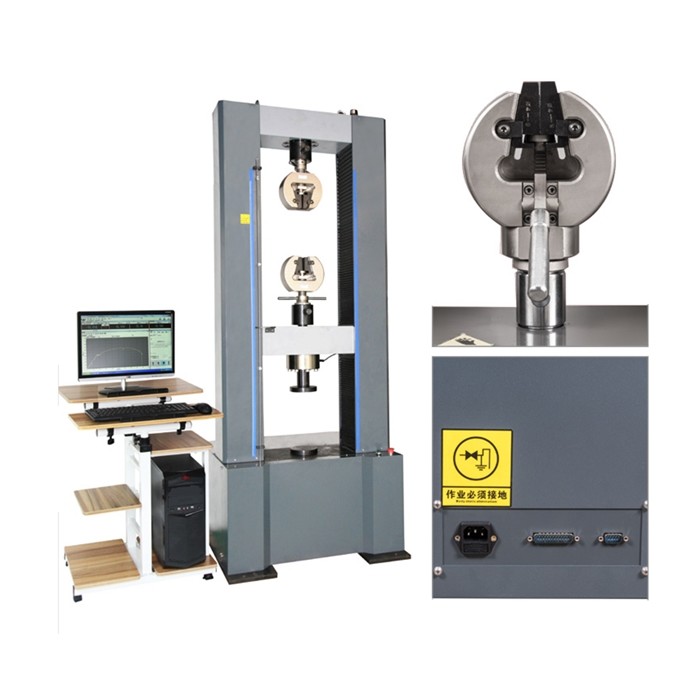
BXT-100KN series Microcomputer control electronic universal testing machine is designed with beautiful appearance, convenient operation and stable and reliable performance. The computer controls the rotation of the AC servo motor through the speed control system. After decelerating by the deceleration system, the moving beam is raised and lowered by the high-precision rolling screw pair to complete the mechanical properties such as tensile, compression, bending and shearing of the metal and non-metal samples. Test and analytical studies. Test parameters such as tensile strength, upper and lower yield strength, elongation, and non-proportional extension strength (ReH, ReL, Rp0.2, Fm, Rt0.5, Rm, E) can be automatically obtained, and can be based on GB, ISO, DIN , ASTM, JIS and other international standards for testing and providing data. No pollution, low noise, high efficiency, very wide speed range and beam moving distance. It is mainly used for testing steel, thin strip, aluminum alloy, copper, titanium alloy and non-metal materials. It is an ideal testing equipment for factories, mines, research institutes, quality supervision and other industries.
Product Advantages
The test machine adopts AC servo speed control system with high speed regulation and stable performance and AC servo motor as the drive system. The database technology control and data processing software based on Windows 7 uses virtual instrument technology instead of traditional digital. Tube and oscilloscope realize the screen display of test force, test force peak, beam displacement, sample deformation and test curve. All test operations can be completed by mouse input on the computer screen, with good man-machine interface. Easy to operate; the dual-channel all-digital programmable amplifier embedded in the PC realizes the automatic zero adjustment and calibration of the physical zero adjustment, gain adjustment and test force measurement. There is no analog adjustment link, and the control circuit is highly integrated. The mechanical adjustment device such as a potentiometer is completely eliminated, and the structure is simple and the performance is reliable.
Applicable Standard
GB/T 16491-2008 "Electronic Universal Testing Machine";
GB/T2611-2007 "General technical requirements for testing machines";
GB/T228.1-2010 "Metal materials tensile test - Part 1 - Test method for room temperature";
The test machine is applicable to standards: GB, JIS, ISO, ASTM, DIN, etc.;
The testing machine is packaged and transported according to GB/T13384-1999 standard;
Main Composition
- Host: This part consists of the workbench, the middle beam, the upper beam, the guide column, and the cover. The machine is a door type floor structure, and the upper space is stretched and bent in the lower space, and is a double-space structure with a pull-up and a lower press. Imported gapless ball screw and guide bar, beautiful in appearance, safe and reliable, and ensure that the host has sufficient rigidity and high coaxiality and other operational accuracy indicators.
- Safety: It has the functions of beam displacement limit protection, overload protection and breaking shutdown protection, which makes it safe and reliable to use.
- Transmission system: The AC speed control system controls the AC servo to control the rotation of the motor. After deceleration by the deceleration system, the moving beam is raised and lowered by the high-precision ball screw pair to complete the tensile, compressive and bending properties of the sample. test. High-precision precision ball screw has stable loading, high efficiency, no noise transmission and high positioning accuracy. Arc toothed synchronous belt deceleration system has high efficiency, long service life, low noise, maintenance-free, no up-and-down operation of the beam. advantage.
- Test parameter measurement and control system: Windows 7 Chinese work platform, all digital PC control card combined with computer integration technology, with dual channel signal amplification, multi-channel I / O, photoelectric displacement system and other units, making full use of the computer the system has multiple hardware and software resources, reliable system and advanced technology.
- Precision test and test system adopts Lenovo computer as the main control machine: completes the functions of machine test setting, working state control, data acquisition, arithmetic processing, display printing test results, etc., and is equipped with Windows XP Chinese version intelligent software package for testing machine. The various performance parameters of various material test pieces can be measured and judged according to national standards, international standards or user-supplied standards, and the test data is statistically processed and processed; then test reports and characteristic curve patterns of various required formats are output.
Features
- Automatic clearing: The main control computer receives the test start command, and the measurement system is automatically cleared.
- Automatic return: After the automatic identification of the sample is broken, the movable beam automatically returns to the initial position at high speed;
- Automatic shifting: automatically switch to the appropriate range according to the load size to ensure the accuracy of the measured data;
- Auto save: test data and test conditions are automatically saved to prevent data loss caused by sudden power failure or forgetting to save the disc;
- Automatic shifting: the speed of the beam can be changed automatically according to the preset program during the test, or it can be changed manually;
- Automatic verification: the system can automatically realize the accuracy calibration of the indication value;
- Test process: the test process and measurement, display, analysis, etc. are all completed by the microcomputer;
- Test software: Chinese Windows XP user interface, menu prompts, mouse selection operation is simple and convenient;
- Display mode: data and curves are dynamically displayed with the test process;
- Reproduction of results: The test results can be accessed arbitrarily and the data curve can be reanalyzed;
- Curve traversal: After the test is completed, the mouse can be used to find the force value and deformation data of the test curve point by point, and the test parameters of various materials are convenient and practical;
- Comparison of results: multiple sample characteristic curves can be superimposed, reproduced, and partially amplified by different colors to realize analysis and comparison of a group of samples;
- Curve selection: The stress-strain, force-displacement curves can be selected for display and printing as needed;
- Batch test: For samples with the same parameters, one batch of samples can be tested in sequence after one set;
- Test report: The test report can be programmed and printed according to the format requested by the user.

 Your message must be between 20-3,000 characters!
 Please check your E-mail!
  Your message must be between 20-3,000 characters!
 Please check your E-mail!

